How to Organize Your Real Estate Files Using Google Drive
When I first started in real estate, my desktop was a graveyard of PDF contracts, random listing photos, and transaction folders scattered everywhere. Every time I needed to pull up a document, I wasted precious minutes searching. Sound familiar?
I realized pretty quickly that if I wanted to grow my business, I couldn’t run it out of chaos. Organization wasn’t optional — it was step one. That’s when I turned to Google Drive and created a system that not only keeps me sane but also saves hours every week.
If you’re looking for a simple, scalable way to keep your real estate files under control, this system is for you.
Why Google Drive for Real Estate Agents?
Google Drive has become my go-to because it checks all the boxes for real estate work:
Accessibility → Cloud-based, so you can pull up contracts or listing photos from your laptop at the office, your phone at a showing, or your iPad at home.
Collaboration → Real estate involves multiple players — agents, clients, attorneys, lenders. With Drive, you can share documents, edit in real-time, and avoid sending 10 versions of the same file back and forth.
Storage Capacity → It starts with generous free space, and you can scale up as your business grows. Contracts, CMA PDFs, inspection reports, and endless property photos all have a home.
And here’s the bonus: Drive integrates seamlessly with other Google tools you probably already use — Gmail, Calendar, Keep, Sheets, and Forms. Everything lives in one ecosystem, which means less juggling and more doing.
Keeping It Simple: The Power of a Clean Folder Structure
One of the biggest mistakes I made early on? Over-organizing. I thought dozens of perfectly labeled folders would make things easier. Instead, it turned into folder soup — I couldn’t find a thing.
The truth: more folders ≠ better organization.
Now, I stick to a simple, visual system:
3 primary folders: Admin, Buyers, and Sellers.
Color-coded client folders so I can see the status of every deal at a glance.
Here’s the breakdown:
Charcoal → Primary folders (Admin, Buyers, Sellers).
Light green → Incoming listings.
Dark green → Active listings.
Yellow → Pending transactions.
Red → Sold transactions.
Red with “X | Sold” → Post-closing tasks (when possession has occurred, but I’m still wrapping up commission or follow-up).
Pro Tip: As a transaction moves stages (pending → sold), just rename the folder and update the color. You’ll always know what’s active, what’s pending, and what’s closed — no mental gymnastics required.

Organizing Buyer Files
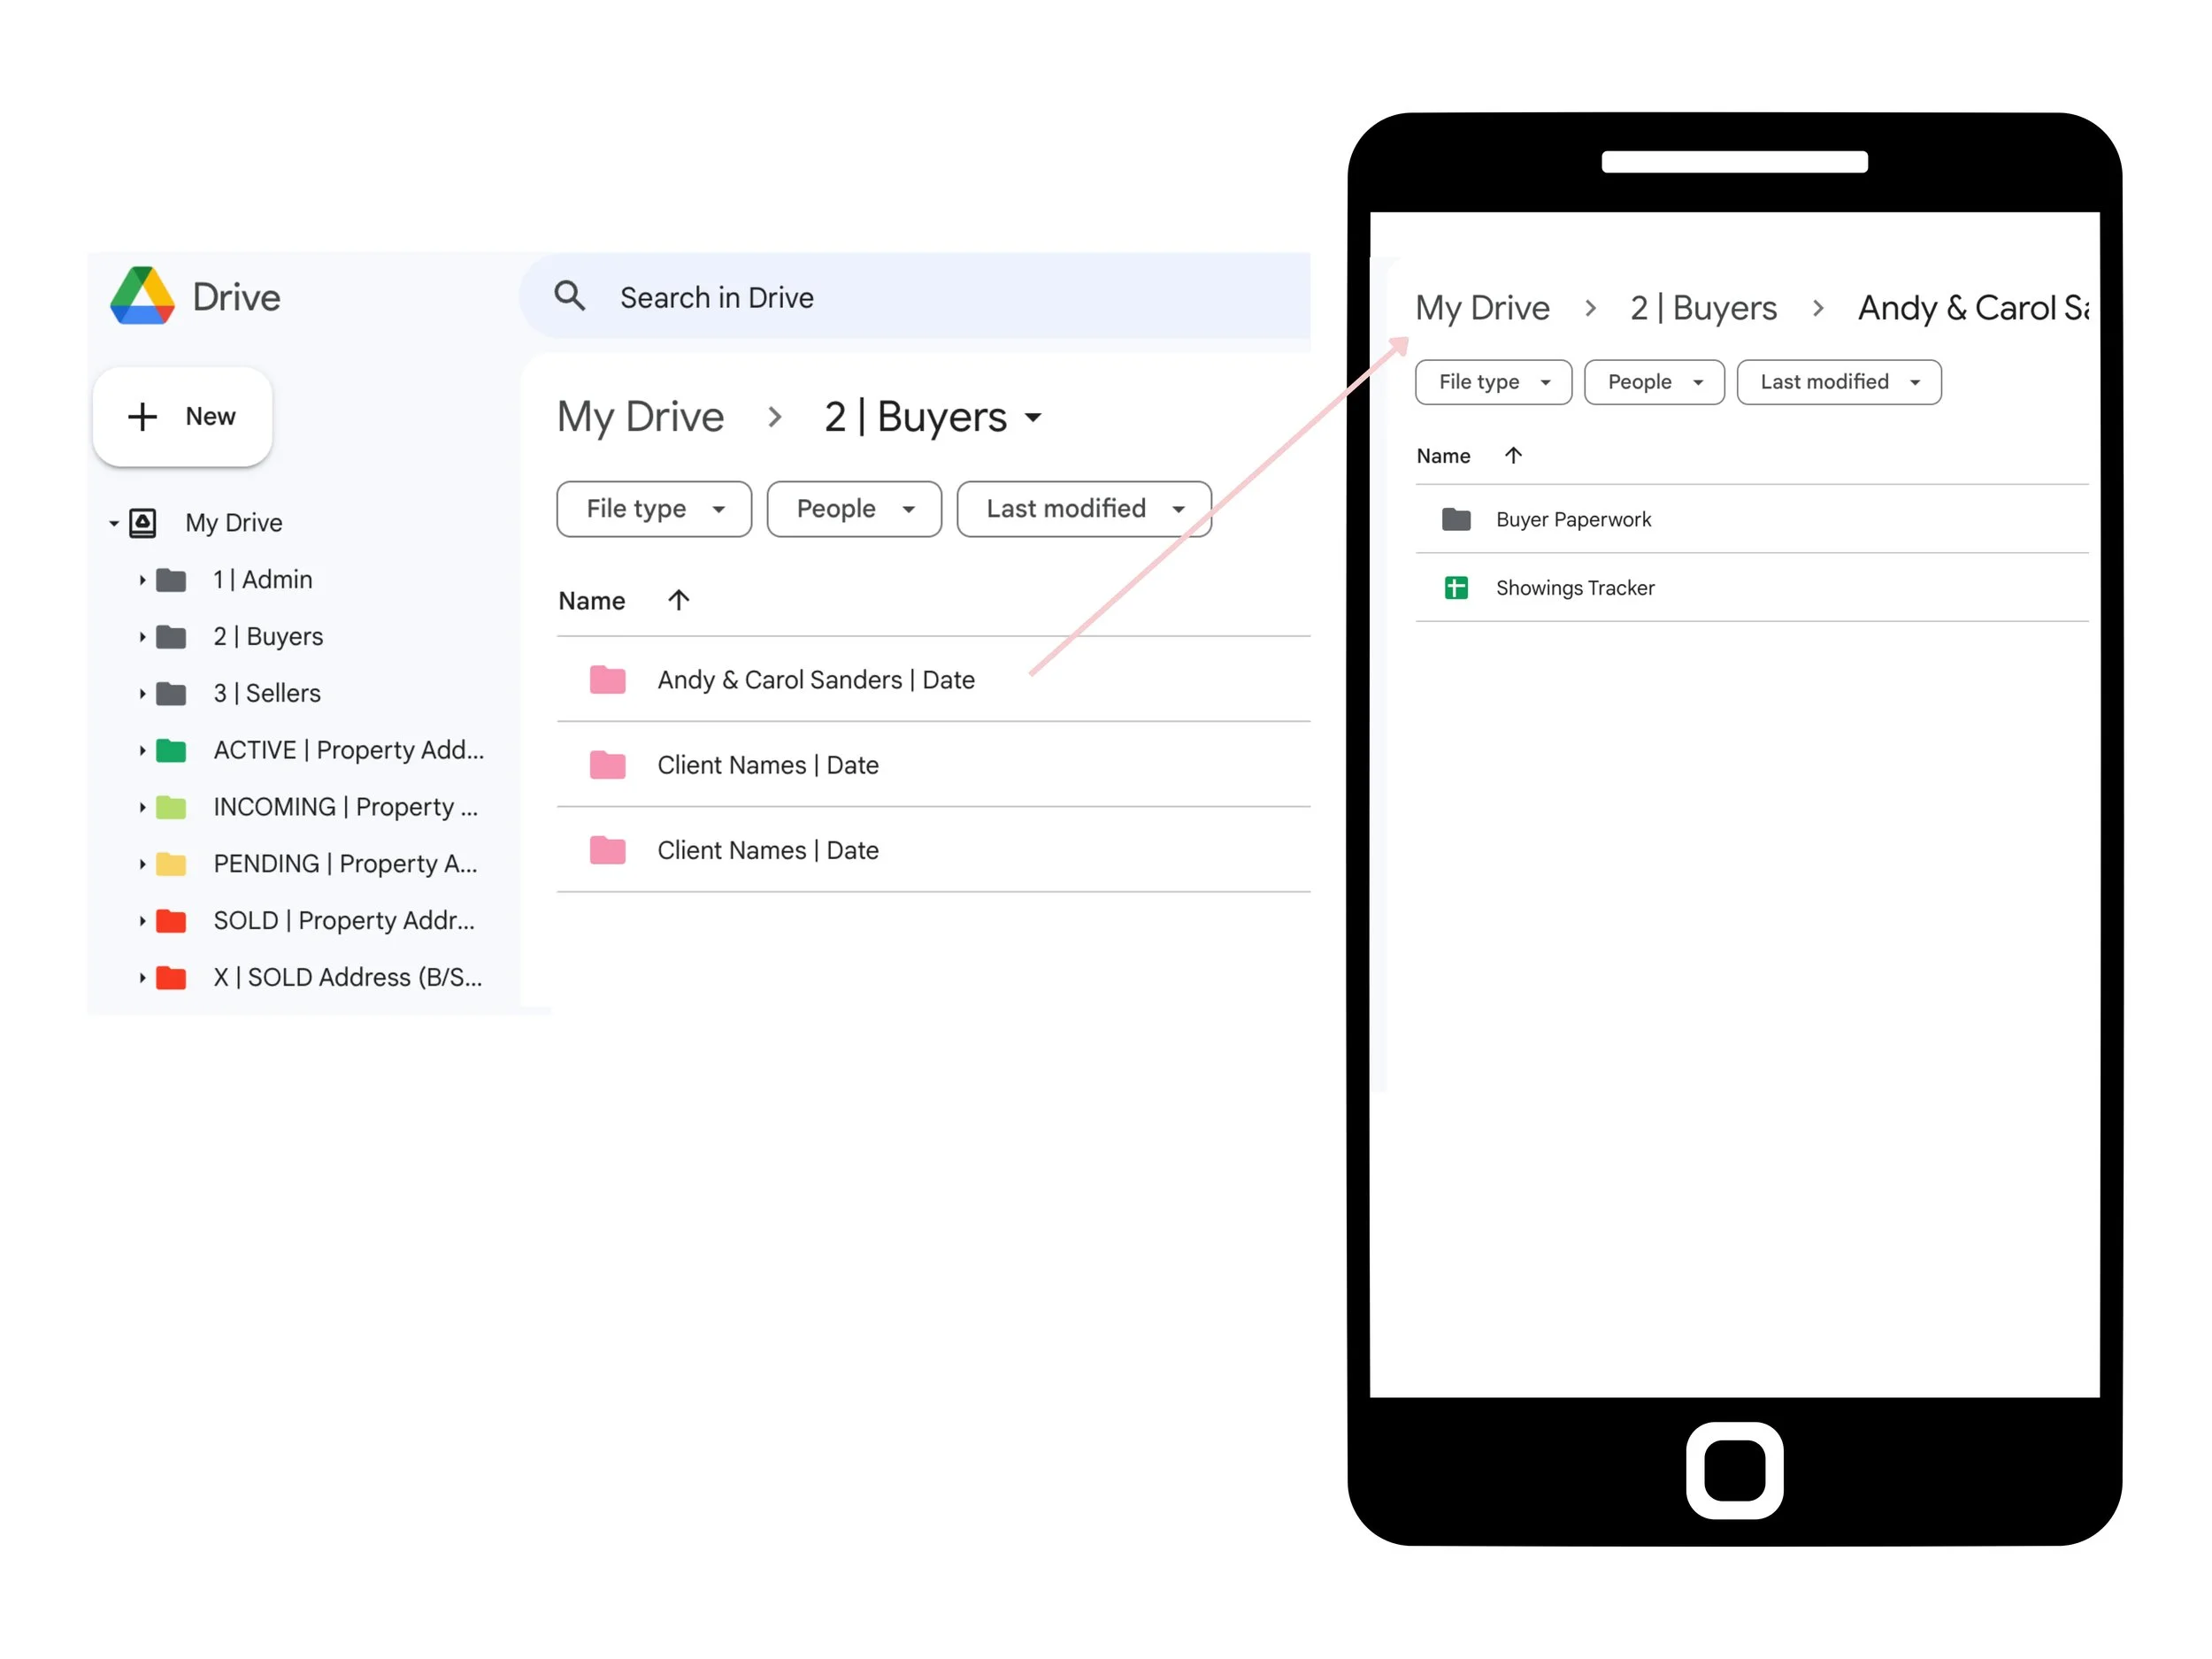
Every new buyer starts in the Buyers Main Folder. When you get a new lead, create a folder titled with their name and intake date, and drop it in here.
When they go under contract: Rename the folder →
Pending | Property Address | Client Name B→ turn it yellow.Once the property closes: Rename →
Sold | Property Address | Client Name B→ turn it red.After possession and final commission tasks: Rename →
X | Sold | Property Address | Client Name B.
Inside each buyer file, you’ll typically keep:
Buyer Intake
Representation Paperwork
All Offers Made
Purchase Documents
Showing Tracker (Google Sheets)

Organizing Seller Files
Same system, slightly different labels. New seller leads begin in the Sellers Main Folder.
Once they sign a listing agreement: Rename →
Incoming | Property Address | Client Name S→ light green.Once the property is live on MLS: Rename →
Active | Property Address | Client Name S→ dark green.Pending offer: Rename →
Pending | Property Address | Client Name S→ yellow.Closed sale: Rename →
Sold | Property Address | Client Name S→ red.Post-possession tasks: Rename →
X | Sold | Property Address | Client Name S.
Inside each seller file, you’ll likely have:
CMA
Seller Intake
Listing Paperwork
Measurements & Photos
Marketing (flyers, social media, open house materials)
Sale Documents
Showings Tracker (Google Sheets)
Open House Form (Google Form)

By the end of a transaction, each client file will have numerous documents & subfolders. Here is an example of a buyer and seller file at sold.

Admin Folder: Your Business Hub
Your Admin folder is where all non-client documents live — the backbone of your real estate business. The trick? Keep headings broad (no more than 10), then use subfolders to sort.
Here’s an example setup:
Brokerage → Brokerage documents, contracts.
Education & Learning → Training videos, condition-writing notes.
Financials → Yearly folders with bookkeeping spreadsheets, receipts, and tax records.
Goals & Planning → Business plan, goal-setting docs.
Marketing → Blog drafts, brand identity, agent headshots, social media files.
Past Transactions → Subfolders by year with closed client files.
Referral Program → Program outline and tracking spreadsheet.
Templates → Google Sheets trackers, Google Forms (intake, open house, multiple offers), Google Keep headers.
Website → Backups, page content, branding assets.
Pro Tip: If you have more than 10 main folders, your categories aren’t broad enough. Simplify.

Here’s the truth: the only systems that work are the ones you actually use.
Don’t overcomplicate things. Start with a simple framework, build it out as you go, and let it evolve with your workflow.
By setting up Google Drive with this structure, you’ll spend less time hunting for files, more time serving clients, and (bonus!) your business will run smoother when you start building a team.
Your files tell the story of your real estate business. Make sure it’s a story you can actually follow.